
Big Bull from BullVPN is here to explain a common issue: You've connected to the VPN to hide IP Address, and the IP has changed successfully, but when you try to open a blocked website, it still won't load. What could be the cause?
In truth, there are only a few reasons. The first is often due to antivirus software that is overly protective of your device, taking full control of the internet connection. This can sometimes conflict with how the VPN operates.
However, the major cause that’s a worldwide issue right now is the rise of IPv6. Many countries have started switching to this new standard, but the problem is that some VPN systems don't fully support IPv6. The result is that even after connecting the VPN, some data still "secretly" runs through the original connection path, allowing the website to see your real IP.
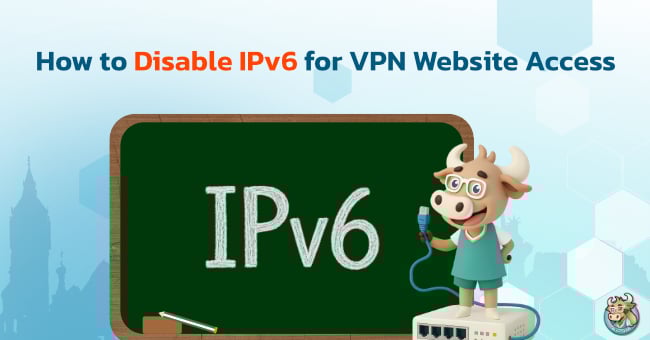
Today, Big Bull has a recommended way to disable IPv6 to ensure that your entire connection runs completely through the VPN, is secure, and successfully hides your IP Address, allowing you to bypass all website blocks. But first, let’s get to know IPv6!
What is IPv6?
IPv6 (Internet Protocol Version 6) is the system used to identify and address every device connected to the internet. Think of it as the house number for your computer and mobile devices.
Originally, we used IPv4 (Internet Protocol Version 4), which had about 4 billion available addresses. That might sound like a lot, but in today’s world, where one person has a mobile phone, computer, tablet, and smart TV, those IPv4 addresses are starting to run out.
This is the reason IPv6 was created. It's a much larger and more complex system with a massive amount of addresses, enough that even if the world had billions more devices, it would still suffice. Simply put, IPv6 was designed to support the future growth of the internet.

How are IPv6 and IPv4 Different?
To put it simply, IPv4 and IPv6 are just the house numbers for your internet-connected devices. But they differ in these ways:
IPv4 (The Old Standard)
It's been used for a long time, utilizing a 32-bit address size. This means it has a limited number of house numbers, only about 4.3 billion. The format is numbers separated by dots (e.g., 192.168.1.1). With the vast number of devices connecting to the internet today, IPv4 addresses are becoming insufficient.
IPv6 (The New Standard)
It was created to solve this scarcity problem, using a 128-bit address size. This gives it an enormous number of house numbers, enough to cover billions more devices globally. The format is more complex, including both numbers and letters separated by colons (e.g., 2001:db8:a...).
In short, IPv6 is designed to be much larger (128 bits vs. 32 bits) and better supports the internet of the future than IPv4.
Why is Disabling IPv6 Necessary?
Temporarily disabling IPv6 when using a VPN is a direct and quick solution for users experiencing connection issues where websites don't load or cannot be unblocked. This is why disabling IPv6 is often necessary with a VPN:
1. Preventing IP Leakage (IPv6 Leak)
Even when connected to a VPN, some operating systems might still use IPv6 to send data. This causes your real IP Address to be exposed, revealing your true location.
2. Network Compatibility
Most VPN servers still operate on a more stable IPv4 infrastructure. Disabling IPv6 ensures that all data is encrypted and sent solely through the secure VPN tunnel.
3. Fixing Connection Errors
For users looking for a way to disable IPv6 due to website loading issues, disabling it helps reduce the conflict that occurs when the system attempts to use both IPv4 and IPv6 simultaneously.
How to Manually Disable IPv6 (Windows)
The way to disable IPv6 is very easy! Just follow Big Bull steps:
1. Go to Start and search for the Control Panel.

2. Select Network and Internet, then choose Network and Sharing Center.

3. Click Change adapter settings (on the left side).

4. Right-click on the internet connection you are using and select Properties.

5. Scroll down to find Internet Protocol Version 6 (TCP/IPv6).

6. Uncheck the box to disable IPv6 usage.
7. Click OK and restart your computer.
How to Check if IPv6 is Disabled
You can verify whether IPv6 has been successfully disabled using two methods:
Check via Command Prompt (CMD)
1. Open Command Prompt (CMD)
Press Windows + R → Type cmd → Press Enter.
2. Type the following command and press Enter
ipconfig /all
3. Check the "IPv6 Address" field
If you still see an IPv6 address like 2001:... or 2600:..., IPv6 is still enabled.
If you only see fe80::... (a Link-local address) or no IPv6 address at all, IPv6 is successfully disabled.
Check via Website
1. Open your web browser and go to test-ipv6.com.
2. Wait for the system to analyze your network.
3. Displayed results:
- If the website states "No IPv6 detected," IPv6 is disabled.
- If an IPv6 Address is still displayed, it remains enabled.
💡 Recommendation: Check IP again using an IP checker website after disabling IPv6 to ensure your connection is only using IPv4 and your IP Address is completely hidden.

For BullVPN users, Big Bull understands that connection stability and security are paramount. Now, you no longer need to go through the complicated way to disable IPv6 manually! BullVPN has added an integrated IPv6 management function within the Windows application. Simply:
- Open the BullVPN app.
- Go to Settings.
- Activate the function "Prevent IPv6 Address Detection." and Pres "Save"

The system will automatically "disable IPv6" for you, making your VPN connection stable, secure, and reducing the chance of IP leakage worry-free.
BullVPN is committed to providing everyone with the freedom to use the internet, free from restrictions in both access and data security. 💙
BullVPN will give you freedom internet world through block restrictions.
✅ Hide your IP address
✅ Access blocked websites
✅ VPN servers in 300 Servers in 49 countries
✅ Lag reduced and ping Games
✅ Supports Windows, Mac, iPhone, Android, Chrome Extension, Android TV
✅ Trusted by over a hundred thousand users worldwide